When Saige was little, I found a style of pants I LOVED on her and I bought a whole size run from 18 months to 4T. I love how they fit, and we’ve gotten such good use out of them–they still look fabulous now that Brynley has worn the smaller sizes.
But something has happened recently–Saige has decided that she doesn’t like pants. At all. Even during this past winter I had a really hard time getting her to put pants on to go to the grocery store (when it was below 0 and pants were a necessity). I’d finally get her in pants, and the second we got home, she’d go strip them off and put on a skirt. So those super cute jeans? Yeah, they’ll still look great when the third Miss Mabey wears them. 🙂
And I’ve kind of given up the pants fight. Skirts and dresses it is around here. And since Brynley imitates everything Saige does, I have two skirt wearers in the house. It’s a good thing making basic skirts is so simple, because I see a lot of them in my future.
So today I’m going to walk you through making a quick and easy basic skirt, then over the next few weeks I’ll show you a couple of variations you can do to spice them up and make your girlies feel like queens.
Here’s what you’ll need:
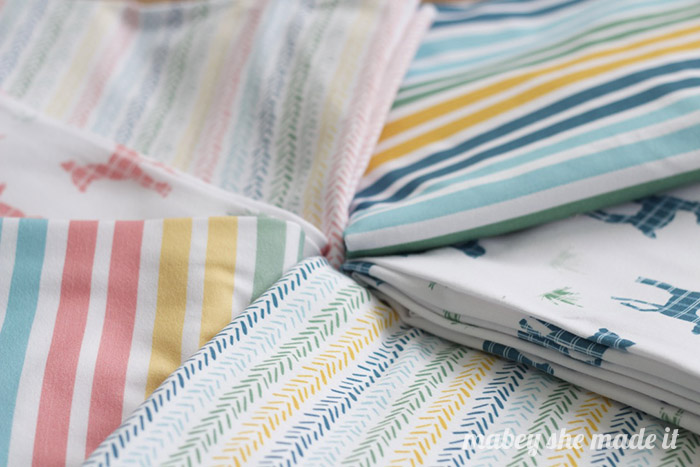
- Fabric of your choice (I like non-wrinkly varieties because I don’t want to iron–ever)
- Sewing machine and thread
- Elastic for the casing (enough to go around your cutie’s waist comfortably)
- Ribbon (optional for embellishment)
- Serger (optional)
Okay, let’s do it!
- Measure your skirt-wearer. Saige has a 21″ waist and I wanted the finished length to be 17″. So take your numbers and we’re going to do some SIMPLE math. For the fabric width, multiply the waist measurement by 1.5 or 2 (depending on how full you want the skirt). So in this case, 21″ x 1.5=31.5″ wide. To get the length, add 2″ to your finished length for hemming and an elastic casing. So in this case, 17″ + 2″= 19″ tall. You’re ready to cut!
- Cut your fabric to your dimensions (31.5″ x 19″ for this skirt).

- With right sides together, sew the short sides together. Finish the edges with a zigzag stitch or with a serger. You’ll now have a tube of fabric.

- At the top of your fabric, press down 1/4″ all the way around your tube, then press down another 3/4″. You’re making a place for the elastic to run (called a casing) for the waistband.

- Now sew close to the edge around the tube, leaving about 2″ open so you can insert your elastic.

- Now cut your elastic about 1″ shorter than your waist measurement. So in this case, I cut my elastic 20″ long (21″ waist – 1″). Now put a safety pin in one end of the elastic, and start threading it through your casing. When you get back to the start, pull your elastic so you’re holding both ends and overlap them like this. Make sure your elastic hasn’t twisted anywhere.
- Sew a couple rows of zigzag stitches to secure the elastic and pull on your waistband a little so the elastic disappears into the casing.
- Sew up the 2″ gap.
- Now press 1/4″ up and then turn and press another 3/4″ to create a hem (like you did for your casing). Stitch along the top of this pressed piece, and you’ve got a finished hem.
You just made a basic skirt!
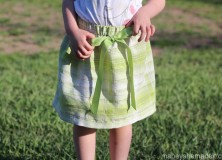
I added a ribbon bow to the front of this skirt just to make it easy for Saige to put it on right (so the seam is in the back) plus I like how it makes it just a little more fancy without any real effort. But your basic skirt is also really cute without.


I'd love to hear your thoughts–leave me a comment!