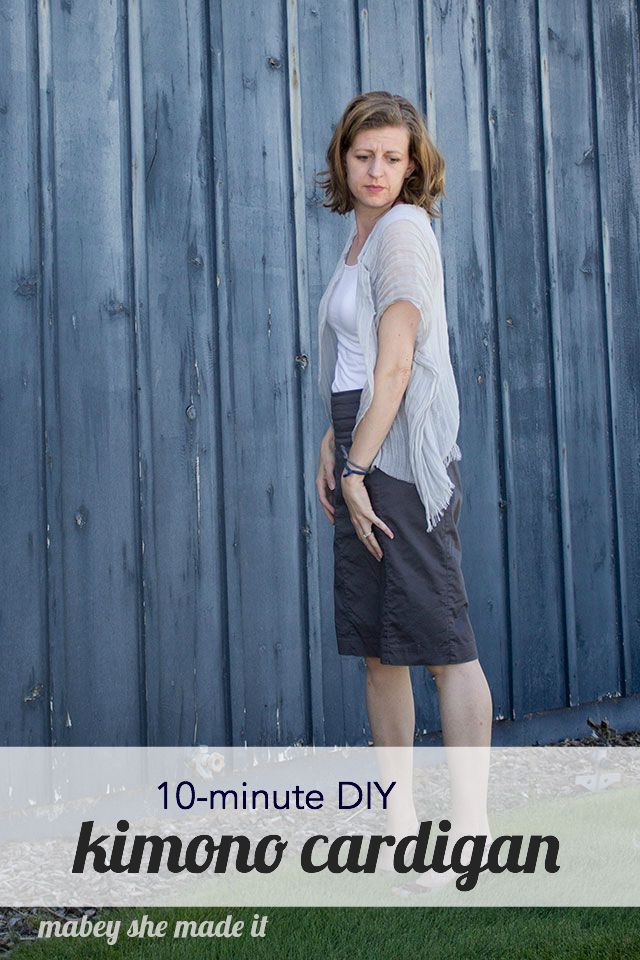
Have you noticed all the kimono cardigans that are so popular right now? Why not make one for yourself with a $5 scarf and about 10 minutes. This would be so pretty in a silk floral scarf! I’m bringing this post home today from Pretty Provident, where you’ll find me again today. Enjoy!
 Hi, I’m Lisa Mabey from Mabey She Made It, a sewing, crafts, and home decor blog, and I’m thrilled to be here today sharing a super simple and trendy sewing DIY with you.
Kimono cardigans are all the rage these days. The floaty, free shape is relaxed but cute, and I couldn’t help but notice how simple they would be to construct–especially if you started with something where the edges are finished for you.

So I’m going to show you how to turn a large scarf into a kimono cardigan in just 10 minutes (perhaps a little more if you’re not familiar with your sewing machine). But it’s simple enough that it’s totally worth a try even if you’re a beginner!

You’ll Need:
- Large scarf wide enough to go across your shoulders width wise with some overhang (I got mine from H&M for $5)
- Sewing machine and thread
- Pins and scissors
Instructions:
- Fold your scarf in half on your work surface and find the middle.

- Cut up the middle of the TOP LAYER ONLY, and cut a small half circle to create a neck hole.

- Sew all around your cut edges with a small zigzag stitch to bind the edge and keep it from fraying
- Pin where you want your arm and side seams to be–keep in mind you want them to be loose. Then sew along your pins, and you’re done!


Depending on the size of your scarf, you may want to shorten your cardigan to the length you like best. I used a linen scarf, and it was fun to keep the fringe detail from the scarf.
 I would love to make another one in a floral silk scarf for an authentic kimono look though.



I'd love to hear your thoughts–leave me a comment!