
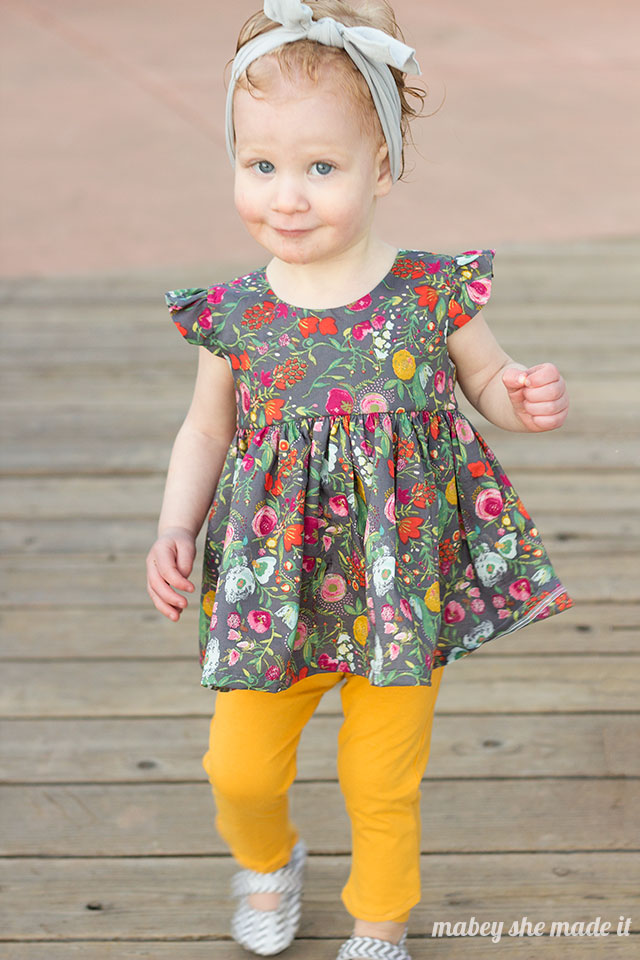
A few weeks ago I shared the pattern and tutorial for the super cute Tulip Leggings with you, and you probably spotted the cute little number on top. I’m calling it the Flutterby Top and I’m sharing a FREE 18-month pattern and tutorial for making the top today.
Because you guys loved it!

So I’ve teamed up with Art Gallery Fabrics again to share the pattern and tutorial for this sweet little Flutterby Top because its the perfect pairing with the Tulip Leggings.
Budquette Nightfall print is the perfect fabric for this pattern too–its lightweight, has a beautiful drape, and looks great even after she naps. This is the Budquette Nightfall print and its AMAZING–its even softer and more beautiful in person than I can tell you.
And who wouldn’t really. The Flutterby Top is a simple lined bodice with a flutter sleeve and gathered skirt. It buttons in the back and is the perfect complement to the Tulip Leggings.

Pair the feminine details of the pattern with luscious Art Gallery and you’ve got perfection. I love that the colors of this outfit aren’t your typical colors for babies so its got a boutique elegance to it.
Yet its cute and fun for everyday play too. I love the small details in the combination that stand out, and you will too!
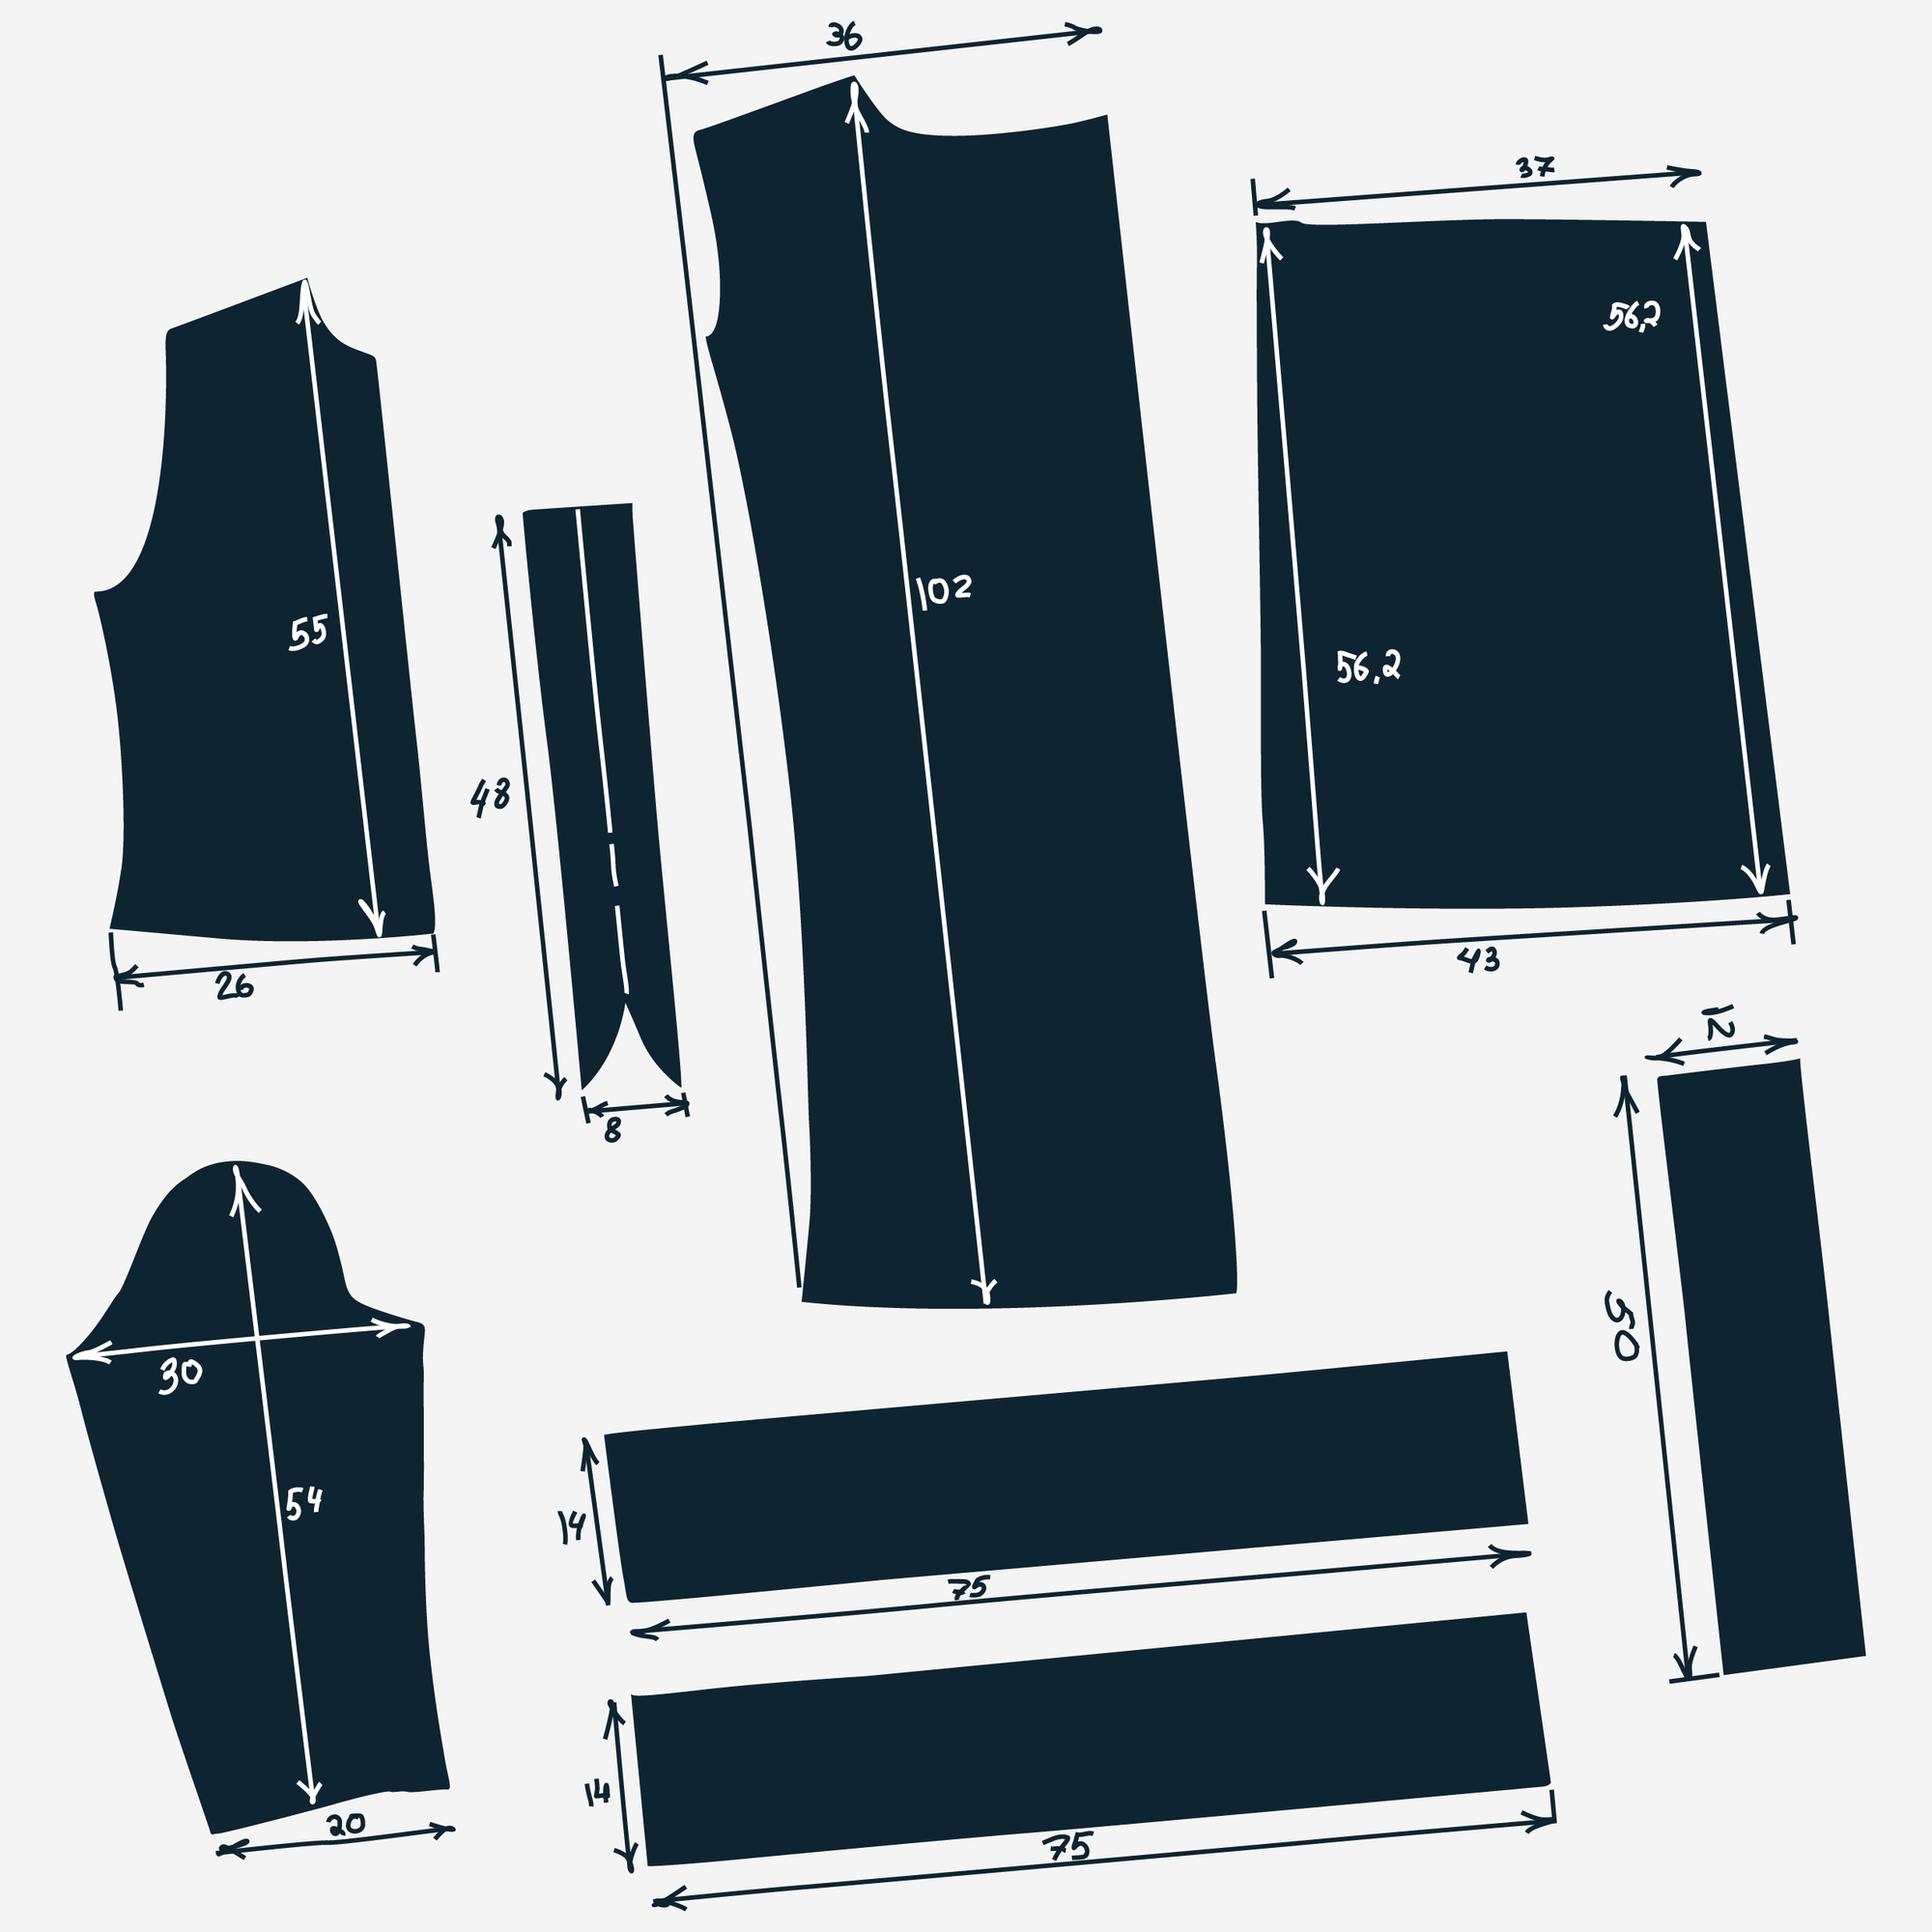
So let’s get sewing! You’ll need all the pieces below:
Flutterby Top Cut List:
Start by downloading, printing, and cutting out the Flutterby Top bodice pieces.
- 10″ x 45″ rectangle for the skirt
- Two 3″ x 12″ rectangles for the flutter sleeve
- Two front bodice pieces
- Four back bodice pieces
You’ll also need:
-
- 3 small buttons
- Buttonhole foot
- Fusible interfacing scraps for the button areas
Flutterby Top Instructions
- Pin the front bodice and two back pieces together at the shoulder with right sides together (RST) and sew along both shoulders. Repeat for lining.

- On the lining, fuse strips of interfacing along the straight back edges where the buttons and placket will go. The interfacing will help stabilize the fabric, especially if you’re using a finer fabric like the Art Gallery voile.
- Fold and press your small rectangles in half with wrong sides together to make two long thin strips. Run two rows of basting (gathering) stitches along the raw edges and gather the strip

- Lay the main bodice right side up, and pin the ruffle across the armscye (armhole) so the raw edges are together and the sides of the ruffle fade into the armscye. They’ll be completely enclosed when we add the lining layer. Baste the ruffles to the bodice.

- Place the main and lining RST and sew along the neckline and armscye (see photo below). Notch the curves, clip the excess from your flutter sleeve, and turn it right side out by pulling the back through the shoulder to the front of the bodice on both sides. Use your fingers to flatten the seams out then press well.

- Separate your main bodice and lining on both the front and back bodice pieces and with RST align the pieces so the main front and main back are touching and the lining front and lining back are touching. Sew along the edge from the lining to the main in one line of stitching. Repeat for other side.

- Flip your bodice right side out, and topstitch around the arm and neck edges if desired. Pin the bodice together in the back by overlapping the placket by 3/4″.
- Sew the short edges of your big rectangle together with RST, and press your seam. You should have a tube now. Then run a few lines of basting/gathering stitches around the top of your tube and gather your skirt to the same width as your bodice.

- Pin the raw edges of your bodice and skirt together with RST and with the button placket lined up with the seam of your skirt.
- Sew the skirt and bodice together, and finish your seams. Press the seam allowance up and topstitch around the bodice.
- Hem your skirt.
- Add 3 buttonholes and 3 buttons to the plackets.

If you wanted to make a Flutterby Dress instead, just increase the length of your rectangle to the length needed for your little one.

[pullquote width=”500″ float=”center”]So what are you waiting for? Download your FREE Flutterby Top Pattern Here![/pullquote]
[optin-monster-shortcode id=”igvscqbgegcv8xvz”]




27 responses to “FREE Flutterby Top Pattern & Tutorial”
I cannot get pattern to download. Could you please email the pattern to me. Thank you
I am having a problem not getting the full pattern for the flutterby top pattern. I was able to get the top and back bodice and front, but not the bottom part of it or the sleeve pattern. Is there something I am not doing correctly or is there there another page I am not getting. Please let me know
The pattern is just the bodice–the skirt and flutter dimensions are listed in the tutorial.
Can’t get the entire pattern to download for printing….
The pattern is just the bodice–the skirt and flutter dimensions are listed in the tutorial.
I can’t get the pattern to download, either. Would you please email me the pattern. It’s so adorable. Thanks
Sent!
I too cannot get the Flutterby top to download. I did download the Tulip Pants with no trouble? I have the fabric all ready to go. Please advise or send me the pattern to my e mail address. I have subscribed. Love the top and pants cannot wait to create. Love your site and look forward to more patterns! When I try to submit the comment it keeps saying I said this before yet I haven’t.
Sent!
FINALLY! I found the secret of downloading the Top pattern. I kept clicking (left) just a little below the download and a box appeared asking for my e mail then it went to the pattern. This should be show on the web page what to expect. This was very frustrating and I almost gave up not to come back to this site. But all is well now.
Thanks for not giving up on me. Its definitely doing something strange so I’m looking into it.
I have cut all the pieces for the top and pinned my shoulder seams together. I am afraid to stitch because it looks the seams will be too far forward on the bodice once I turn it right sides out. Did yours looks like this too in the beginning? I looked closely at the photos of your finished top and your seams appear to lay correctly at the top of the shoulder.
Yes, the seams are forward of the top of the shoulder a bit. Not drastically, but a little bit.
Can I get this in a larger size. I need it in a 3 T
Hi Sue, unfortunately I don’t have this pattern in a 3T, but feel free to try grading it!
What size seam allowances did you use? 1/2″?
3/8″ seam allowance. I can’t believe I forgot to put that in!
I can’t get the pattern to open up either. Will you please email it to me also??? Very excited to try this out. It’s beautiful!!
I seem to be having the same problem with downloading the pattern. Can you please send it to my mail? Love the pattern and can’t wait to make it for my niece
Try switching to a desktop view if you’re on mobile or a tablet or downloading on a computer–for some reason its being stubborn on mobile.
Hi, the test square no the pattern piece – is it meant to measure 1″ square? just making sure i’ve printed it out in the correct size. Thanks
Yes, but it might be a tad off. If you’re close, I’d say go with it!
I can not seam to get the pattern to download could you email it to me thanks.
Do you overlap the bodice when you sew to the skirt??
Yes, overlap by about 1/2″.
[…] Flutterby Top from Maybe She Made It. I made it a little longer than the […]
[…] Flutterby flared baby girl top by Maybe She Made It. Age: 18 months […]