

We all have a favorite tee in our closets, and often we wish we had another one just like it. And while I can’t take you back in time to buy another one, I can show you how to draft one just like the original and it doesn’t matter what size shirt you want–its all the same!

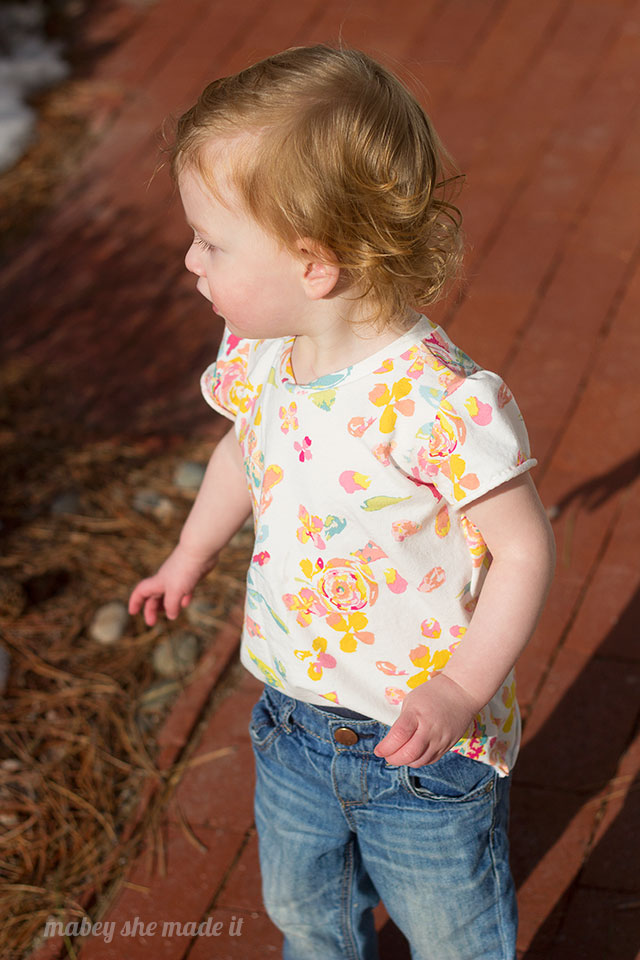
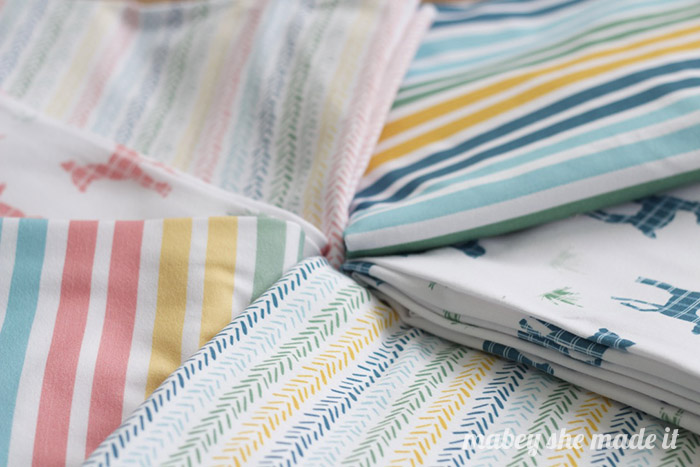
So pull out that tee, and let’s get started! This fabric is Swifting Flora Fond from the Fleet & Flourish line from Art Gallery Fabrics, and it’s dreamy!

Supplies:
- Favorite tee
- Knit fabric (anywhere from 1/2 yard for babies to 1-1/2 yards for adult sizes) with a similar stretch and recovery as your favorite
- Fabric marker or chalk
- Cutting mat and rotary cutter OR sewing shears
- Tissue paper (optional if you want to reuse this “pattern” you’re creating)
- Sewing machine
- Serger (optional, but nice)
Note about fabric: While you can use many different types of knit for your shirt, you will want to make sure you have knit with good stretch and recovery for the binding. Examples of great fabric choices include ribbing and cotton spandex.
I can’t recommend Art Gallery knit enough–its a beautiful weight with wonderful stretch and recovery.
Instructions:
- Turn your tee inside out and fold it in half lengthwise. Tuck in the sleeves, and lay the fold of the tee on your folded fabric.

- Trace around that tee with a marker or chalk leaving a little extra for seam allowances and the hem. I trace the back piece first, and then cut it out.
- Cut out a second back piece (that we’ll modify to become the front). Then measure how much lower your shirt front is and cut that much out of your shirt piece to make it the front. This photo shows the piece I cut from my second “Back” to make it the front.

- To trace the sleeve, place the outer edge of the sleeve on the fold of your fabric to begin. Trace around the hemline, leaving extra fabric for your hem (if desired). To cut the armscye, you can choose to trace the existing curve for a straight sleeve or add height to the curve of the sleeve if you want a gathered sleeve. I chose a gathered sleeve. Cut two.
- Sew your front and back pieces together at the shoulders with right sides together (RST).
- Sew a gathering stitch around the curve of your sleeves (if you did a gathered style, omit if you cut a straight sleeve), and gather.

- Pin your sleeves into the armscye with RST matching the center first, then baste them in. If everything looks good, you can choose to finish your seams with a serger.

- Sew the sides of the shirt together RST starting at the sleeve and sewing all the way to the bottom of the shirt, pivoting where the sleeve meets the body of the shirt.

- Cut a binding for the neckline. To do this, measure around the neck opening of your tee. Mine was 15″. Now you want to multiply this number by .8 to find out how long your binding should be (mine ended up 12″). Cut a strip of fabric 1-1/2″ to 3″ wide depending on how wide your want your binding by the length you determined above (mine was 1-1/2″ x 12″).
- Sew the short ends of your binding together RST, then fold the long sides with wrong sides together so you see the print on both the inside and outside of the tube of binding.

- Find quarters of your binding, and mark with pins. Do the same for your neck opening. NOTE: When marking quarters of your neck opening, the front and back will line up but the other quarter marks will NOT automatically be your shoulder seams. Most of the time these quarter marks will be to the front of the shoulder seam since the front neckline is lower.

- Match and pin the quarters of your neckline and binding together, and baste them. If you marked your quarters correctly, your binding should lay flat against the body. If not, unpick and try again until you get it flat.
- Hem your sleeves and shirt (if desired).

For this shirt, I liked how the sleeves were rolling so I decided not to hem them. I also tugged on the bottom of the shirt to get it to roll to match the sleeves.



I'd love to hear your thoughts–leave me a comment!