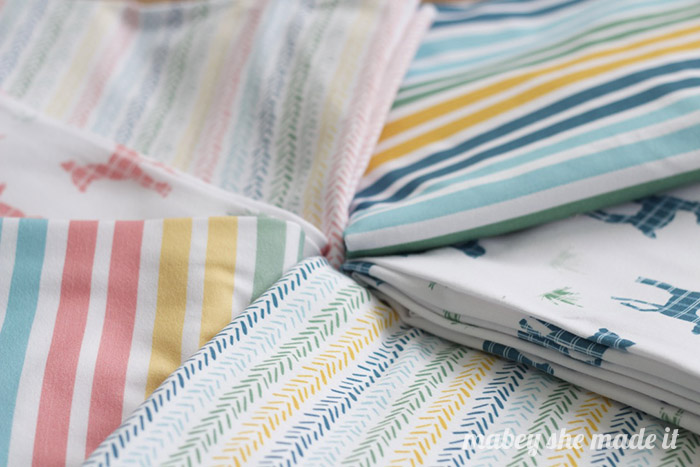
 Have you ever bought a striped shirt or skirt and then realized once you were home that the stripes don’t match up? Its annoying and doesn’t look great and when you’re paying for clothes you want them to look right, not cheap.
The same applies when you’re sewing. When those stripes match up it looks awesome, and there’s a great sense of accomplishment when you’ve matched them up perfectly.
But how do you cut out your pieces so the stripes match up? I’m sharing two methods with you today that accomplish the same thing. If you’re trying for the first time or if you’re not comfortable matching stripes yet, I’d recommend testing both out on scrap fabric to find what works best for you.
Regardless of your method, make sure that if you’re cutting on a fold that your stripes are matched up exactly before cutting or they’ll never match up after.
Method 1 for Matching Stripes
- Lay out your first piece onto your fabric keeping in mind where you want the stripes to sit in relation to your pattern design. (Small stripes really don’t matter much, but a bold stripe could make a difference in the look you’re going for.)
- Take a pen, pencil, or marker, and mark where the stripes are on the side of your pattern piece starting at the bottom of the arm curve. If you have multiple colors, consider using corresponding colors when marking the pattern. By marking your stripes you’re giving yourself a guide to match the other pieces. Cut out the piece from your fabric. (I cut a size 2T, which is the blue line, so make sure everything is lined up for the size you’re cutting)

- Take that pattern piece, and transfer the stripes to a corresponding piece (i.e. if you started with a shirt front, now make the same markings on the shirt back pattern piece). Again make sure the stripes are lined up right below the arn curve. Then line up your corresponding pattern piece on your fabric so the stripe pattern matches what you’ve drawn on your pattern. Cut out your corresponding piece.
 Here you can see that the side seams will match up beautifully.
- For sleeves, transfer the same markings from your front/back and apply them to your sleeve pattern starting from the arm curve point and down what will be the inside arm. If you match up this point with the points from the front and back pattern pieces, your sleeves will align with the body stripes when your arms are at your sides.
 See how when the garment is sewn and the wearer stands with arms down all the stripes will match up.
 - Repeat for any remaining pieces using the same method.
This method is a great way to get precise results while understanding how the fabric repeats.
Method 2 for Matching Stripes
- Cut your first piece out, then open it up (if it was folded) and lay it on your fabric so the stripes match exactly to cut your second piece (i.e. for two sleeves). If you’re doing a front and back, cut out the front, then line up the stripes based on the bottom hem and cut from there.
- You’ll still have to match up the stripes for the body/sleeves using method one to get it right though.
This method takes more time since you’ll be cutting your pieces open instead of folded but its easier to visually see that you’ve got things lined up. This method is especially great when the stripe pattern is more complex. So if you’re unsure about whether you’re matching up, try Method 2.
Of course you’ll find what works best for you when matching stripes. I often merge the two methods and just compare my cut piece to my next pattern piece rather than marking, but still cut the pieces folded like I did here for the skirt pieces. I just made sure the stripes were exact and then cut on the fold.

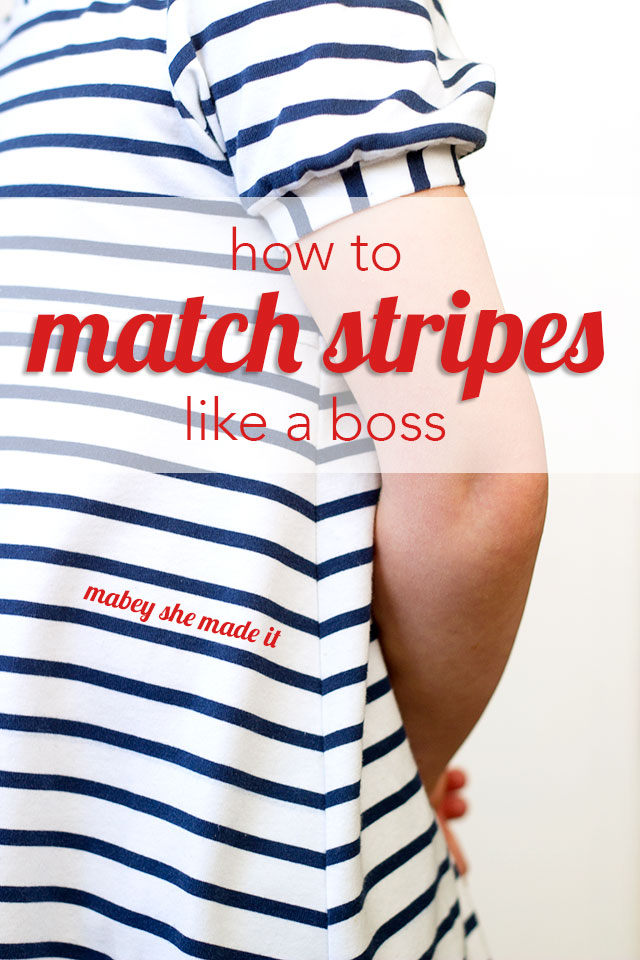
And the result is this cute Eleanor Dress (read more about it here).

Do you have any questions about matching stripes? Leave them below in the comments and I’ll answer!


I'd love to hear your thoughts–leave me a comment!