* This post contains affiliate links.
So if you follow me on Instagram (@mabeyshemadeit), you’ll remember that I promised I’d show you how to make the maxi dress I wore to SNAP! conference. That day has finally arrived–I haven’t been able to get good photos in it until now.
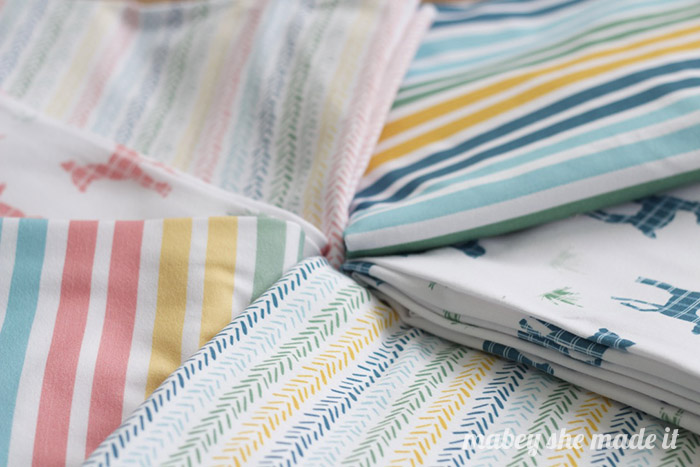
A while back I found these jersey sheets at Target on clearance, and I snatched them up. I think this one was a Full and only cost me $7. If you’ve priced jersey knit before, you know that $7 for SEVERAL YARDS of fabric is a great deal. I haven’t calculated how much yardage there is, but I have so much left after a full maxi dress that it’s amazing (I didn’t even touch the fitted sheet and there’s a bunch left of the flat sheet). I’m still excited about my find, as you can tell.
So I had in my mind that I wanted to make a maxi dress from this sheet set and spent some time thinking about how I wanted it to look. I bounced back and forth between a cross-over yoke and a simple scoop neck, and finally went with a scoop neck because the necklaces I have to wear with it would look better with that neckline. Awesome way to decide, right? (Side Note: I often decide my outfit based from the shoes I feel like wearing that day. I know my priorities.)
Anyway, after I’d decided on a scoop neck, I needed to think about how to make a maternity-friendly maxi dress that I’d still be able to wear afterwards. I want to wear it for a long time! I also wanted to use as much existing hem from the sheets as possible–because I’m lazy like that and because it was 2 days before SNAP! and I still had a TON of things to do to get ready. With those factors in mind, here’s how I created my maxi dress.

You’ll Need:
- Sewing Machine and thread
- Serger (optional)
- jersey sheets or several yards of knit fabric
- Knit top pattern (I used the Penelope Peplum by See Kate Sew)
- A maxi skirt for reference
- General sewing supplies: (Scissors, pins, tailor’s chalk or a fabric marker, measuring tape)
Making a Maxi Dress from a Sheet
- Decide where you want your bodice and skirt to meet on your body. Since I’m pregnant, I pretty much had to have mine meet right under the bust for it to look like, but if you’re not pregnant, you have more options (hurray!).

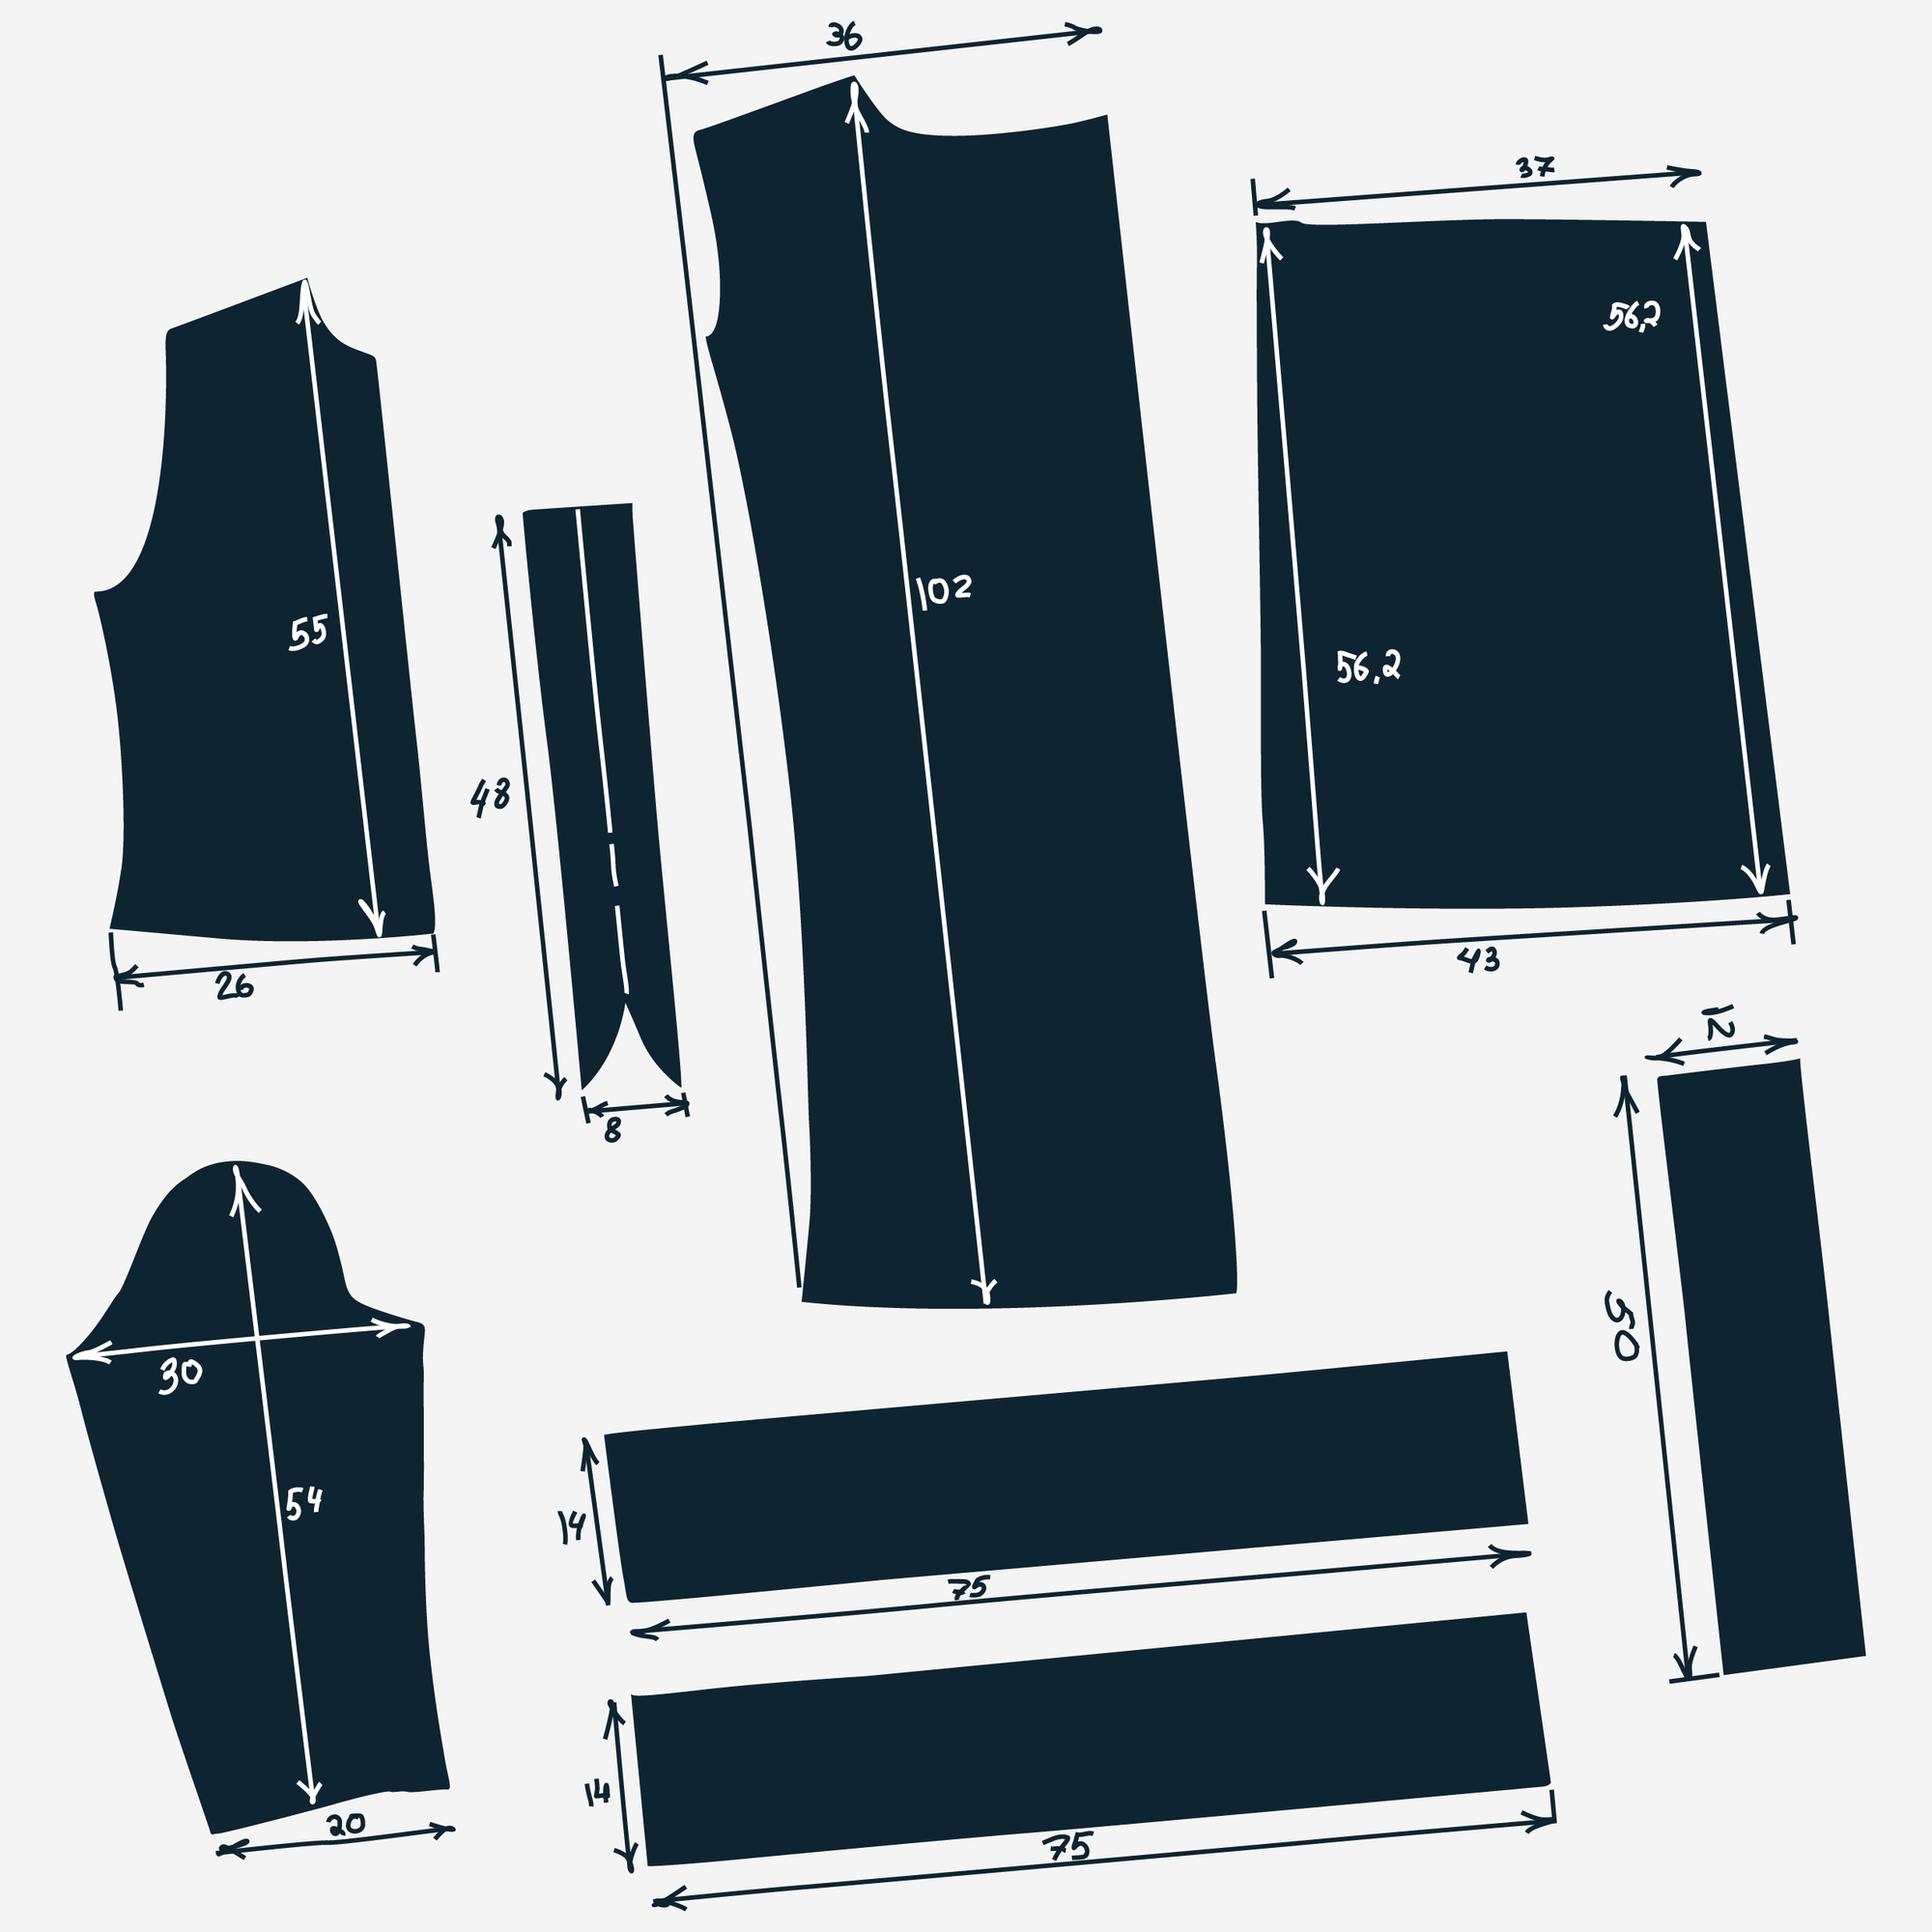
- Lay out your pattern pieces on your jersey knit, and cut a front and back bodice piece. You’ll make your bodice as long as you decided in Step 1. This meant shortening the bodice in my case.
- Cut out sleeves (if you want them) and any other parts you may need for the top of the dress (the Penelope Peplum calls for facings and interfacing in addition to the sleeves). I made sure to use the sheet hem as my sleeve hems too.
- To cut the skirt, you’ll need to do a little figuring first. I used 3 measurements to get my skirt shape. First, measure from where you want the skirt to start (under the bust for me) to your desired length (I wanted mine to hit the floor). That’s how long you’ll need to cut your skirt. Next, I took a maxi skirt I already had and used the bottom width to figure out how wide to make the bottom of my skirt. Third, I measured the width of my bodice back because I didn’t want gathers in the back of my dress so the top width of my skirt needed to be the same as my bodice width.

- With those measurements, I cut my back skirt piece, using the sheet hem as the bottom of my skirt.
- For the skirt front, I wanted/needed some gathers to add detail and to accommodate my growing belly so I couldn’t just use the same piece. Instead, I took the same length and bottom widths, but to accommodate for the gathers, I needed to make the top of my skirt piece wider. I laid my folded back piece on top of my folded fabric (again using the sheet hem as the bottom) and cut so the bottoms were the same but the front piece was wider at the top. If you don’t want as much gathering as I needed, slope the top to more closely resemble the back piece.

- Now we’re ready to sew it up! Sew up your bodice as instructed in your pattern, but don’t hem the bottom.
- Sew a gathering stitch along the top of your front skirt piece (here’s a great way for getting perfectly even gathers), and gather it until it’s the same width as your bodice front.

- Right sides together, sew your front and back skirt pieces together along the sides.
- To attach the skirt to your bodice, put the right sides and raw edges together (so your bodice will be inside your upside-down skirt), pin and sew your bodice and skirt together, matching side seams.
- If you want your dress to look more professional (I love it this way), serge all the raw edges, but it’s not necessary as the knit won’t fray.
Ta Da! You did it! Other than figuring out my measurements, this maxi dress was super fast to put together–basically it’s the same as making a modified peplum (which my pattern was to begin with). Simple, easy, and impressive.
And I was so comfortable the whole time I was at my conference, so I was thrilled with my maxi dress-from-a-sheet transformation. And at 32 weeks it’s still going strong.
Now the photo shoot is a different story–I’m such a dork when it comes to photos! So while we were out in the street, a truck came by and the guy gave me a thumbs up…just a lot embarrassing, but you have to be able to laugh at yourself, right?


I'd love to hear your thoughts–leave me a comment!