I love how a new year often motivates me to get things organized again and find a good home for everything. And while I started coming up with tips to organize your sewing space, I realized that I never showed you my craft/sewing room at Mabey Manor, so you get both practical tips and a craft room tour at the same time.
While these are great tips that I use, I realize that not everyone has the sewing space I had, so use any of the tips for organizing your sewing space that apply to you and find creative ways to make your space work for you.
1. Wrap your fabric on mini bolts
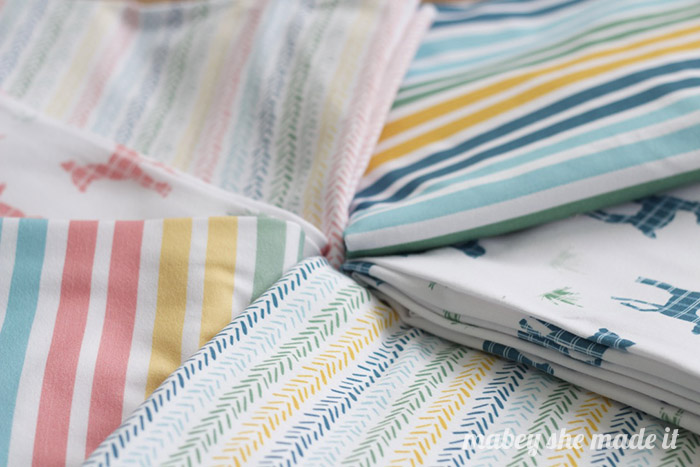
I can’t think of a better way of storing your fabric, honestly. I put everything larger than 1 yard on one of these mini bolts, and love that I can quickly see what I have and match patterns to fabric because I can see prints and textures up close and from a distance. I also rainbowtize them for quick reference. Try using comic book boards or cut up cardboard to use.
I currently use pieces of cardboard from boxes that come–they’re super sturdy and I can always cut another one if I need to. The draw to comic book boards is that they’re pre made, the same size, and gives a uniform look.
I don’t do this for my knits–those I fold and put in drawers. And my home decor fabric (or anything over 4 yards) I hang on a hanger in the closet since its bulky and would take up so much space on the shelf.

2. Put the things you use most closest to you
If you reach for it often, keep it close. If you don’t use it often, find a bin or somewhere a little further out of reach and you’ll save yourself the extra effort. When I’m crafting, this station is great because I’ve got my cutting, painting, and ink supplies right at hand.

3. Use bookshelves as table legs
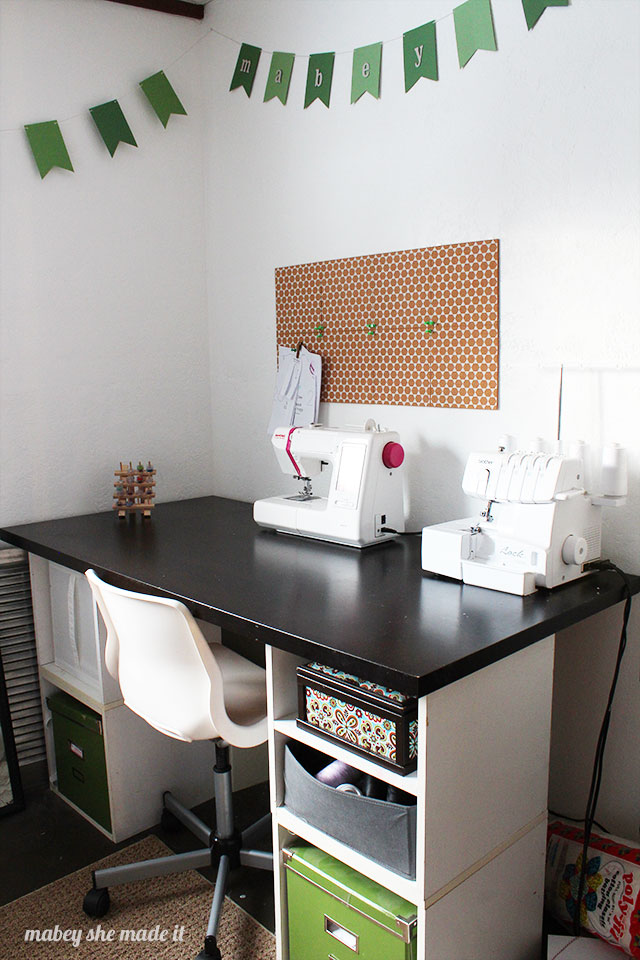
The things I use less often are below my desk on bookshelves that make my crafting desk standing-height. I also use this space as my cutting area, so it serves lots of functions. The top is from IKEA and is nice and wide for cutting.
My stamp sets didn’t get used as often, so they went on the inside bookshelf (although if you have the space to access your table from both sides, definitely turn them both outward so they’re easier to access). Then I put plastic drawers that held my ribbon, cards/envelopes, and adhesives below the desk to better use the space underneath.

4. Get a Carousel
I can’t tell you how much I love my carousel (similar). It holds a TON, spins so you can get what you need, and even has 6 little drawers for storing things (brads, buttons, wonder clips, bobbins…you name it). It holds all my scissors (and you can see that i have a lot for different functions), pens, small supplies, stapler, paint brushes, some adhesives, and even hand cream and a small lint roller. I use something out of here EVERY time I craft or sew. Seriously–get a carousel ASAP.

5. Create a space for your works in progress
We all have things that we’re working on, but don’t want hanging out on the surface of your work space. Designate a bin or spot for those works, and check it often. I like to cut four or five patterns out at once (I hate cutting, and this is one way that cuts down cutting time) and then have them organized with the pattern so I can pull them out one at a time. One of these bins held WIPs and the others held miscellaneous craft supplies (paper crafting supplies, photos, paint chip books, etc).

6. Divide things into spaces that make sense to you
My way of organizing my sewing space work great for me, but they might not make sense for you or your space. And sometimes you’re just doing the best you can. Take this side of my desk, for instance. Its not the most functional part of my sewing room, but its such prime real estate when I’m sewing. I put my sewing box and a bin of serger thread in these spaces because they actually fit the space and were the most used items that would fit.

On this side of my desk, I have my notions and patterns, and this side really does work for me. I’m able to easily access trim, elastic, buttons, zippers and the other things you need when making clothing.

7. Utilize separate spaces for different functions (cutting, sewing, pressing, storage)
Have a cutting station, a sewing station, a computer station, and a pressing station in mind. Keep your iron set up next to your sewing space so you don’t have to get up and go find the iron every time you’ve completed a step. If you have a smaller space, try a table-top ironing board and combine your cutting station and pressing station since you probably aren’t using both at the same time.
8. Don’t let other things crowd your space
Um, guilty. So much of my time is spent with little ones around me, and right now, my sewing desk is also a semi-permanent place for diapers/wipes since I need them regularly while in my sewing space. If possible, I don’t recommend it. Keep your sewing space free of clutter, and you’ll be able to get so much more done.
9. Use your vertical space
This is another one I’m not great at doing other than the computer area. I do love the cork board behind the sewing machine for pinning patterns, inspiration, and photos of my kids, but I’d love to do more vertically.

No matter how you organize your sewing space, make sure it fits your needs. Get rid of what you don’t need and utilize what you’ve got. These ideas will be much easier to implement when you organize your sewing space.


I'd love to hear your thoughts–leave me a comment!