
Are you ready to take your basic skirt to another level? There are so many things you can add to or change to make a basic skirt a little more interesting.
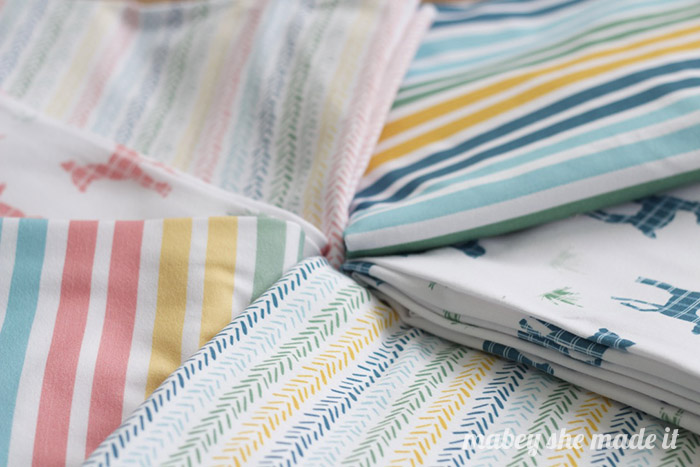
I have used this fabric before for a skirt for myself, and I really like that it’s easy to care for and it doesn’t wrinkle. Definitely a winner for kids clothes. So I whipped up a basic skirt (I made this one a little fuller–I used a full 45″ width) but it seemed to be a little too basic for the fanciness of the fabric. So a little embellishment was in order.

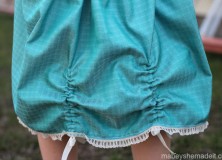
After a little playing, I decided on a lace edge and some ruching created by ribbon strung through casings. It’s playful and fun while dressing up the overall skirt. Here’s how I did it (so you can make one too!)
Ribbon Gathered Skirt
Supplies:
- Basic Skirt tutorial
- Sewing machine and thread
- Scissors and basic sewing tools
- Apparel fabric
- Elastic
- Ribbon (I used 3/8″ ribbon)
- Lace
Let’s get started!
- Make up the basic skirt according to this tutorial, but stop when you get to the hem.
- Zigzag around the bottom of the skirt to finish the edge, then baste some lace to the bottom of the skirt with the raw edges of the skirt and lace together.
- Once the lace is sewn on, flip it to the underside, and topstitch so the lace stays pointing down.
- Now decide how many places you want a ribbon-gather. I did 6, but a single offset gather would be really cute too. Cut out a “casing” for each place you want a gather. For each casing, cut a piece of fabric 3x the width of your ribbon (so 3/4″ x 3 for my skirt) by about 1/3 the length of the skirt (~6″ for mine). Then press 1/4″ down on all four sides of each casing and sew along the top and bottom of each piece.

- Now you’ll need to determine the placement of your gathers. Since I did 6, I divided the skirt into sixths, making sure two of the casings were along the sides of the skirt. Pin them in place on the underside of your skirt.

- To attach your casings, you’ll sew three vertical lines, leaving the top and bottom open so there are two channels for the ribbon to run. Repeat for each casing.
- Now cut a length of ribbon about 3 times the length of your casing. Using a safety pin, thread the ribbon up through one side of your casing, and back down the other, like this:

- Repeat for all your casings, then gather however much you want, and tie your ribbons!

If you want your ribbon gathered skirt a little shorter, cinch the ribbon tighter. It’s totally adjustable which is great as kids tend to grow a lot and you can let it out as needed.
I love how a little bit of effort to make a casing can create such a dramatic look that’s girly and fun without being too overwhelming.

One last photo: If you ask Saige to stand in the shade (vs the sun), you might get this fake “but Mom, I’m cold” look. But the skirt is cute nonetheless.




I'd love to hear your thoughts–leave me a comment!