This post was originally over at the Expressions Vinyl Blog, but today I’m bringing it home with a few updated photos. If you look at most of the photos, you can see that we had finished the walls, but nothing else when I added the stripes. Maya hadn’t even been born yet. But adding the furniture back in has makes it even more fun to look at. So I hope you enjoy!
 Striped walls are so fabulous–I’ve wanted one for a while, but the work involved in taping, painting, and touchups has prevented me from getting my hands on this project. And so has the fact that we were renters for a while. Even if the landlord lets you paint, is it really worth the effort involved? Not to me. And even now that we’re in our own house, I didn’t want to paint stripes because we know we’ll be selling in a few years. I like to keep it simple.
But I’ve got a solution for you that you’re going to love–vinyl stripes. Seriously so cool. Put them up and then when you move, you just pull them off and there’s no stress. Have I mentioned that I love vinyl?
I’m Lisa Mabey from Mabey She Made It and I’m back to show you how to stripe your walls in one good nap time (yup, one!) and without hardly any mess or cleanup. Seriously, it’s that simple.
 Now before we go much further, I’ll say that this project would be EASIER with two people, but it’s totally doable by yourself (I did it myself). Are you ready to see how I did it? I used:
- 12x10yrd. Indoor Vinyl – White (Oracal 631)
- Craft knife
- Measuring tape
- Pencil
- Yard stick or long straight edge
- Painter’s tape
Let’s get started!
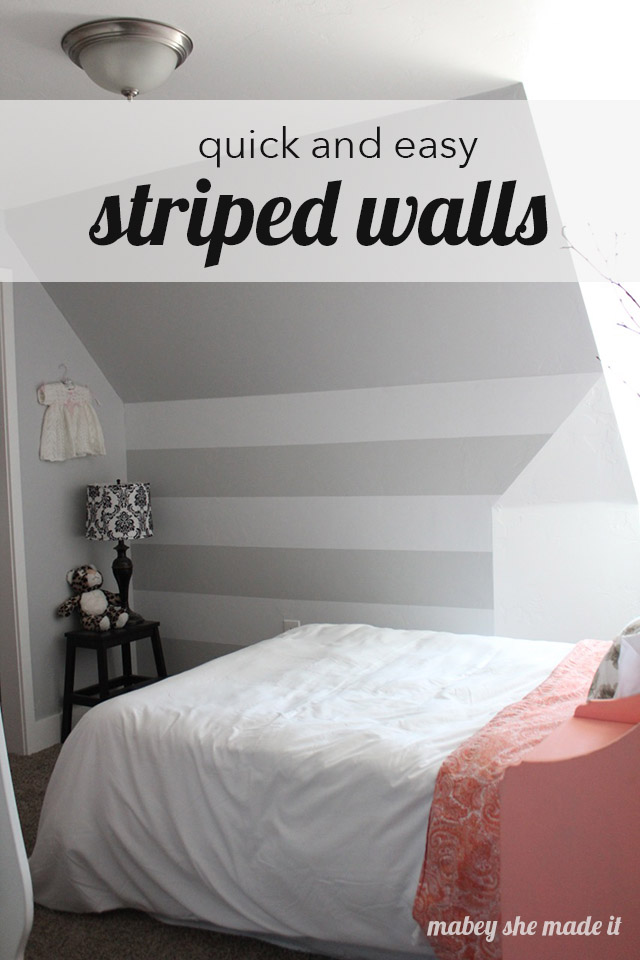
- Measure your wall and determine how big you want your stripes. After dividing my wall into 6 sections, I determined that each stripe (and space in between) needed to be 8.75″ so everything was the same. You could easily do smaller vinyl stripes with bigger spaces if you wanted to though–and if you went with 6″ stripes you could get 2 stripes from each length of vinyl…

- Unroll your vinyl and start marking where you’ll need to cut (at 8.75″ for my stripes).
- When you’re done marking, use your straight edge and craft knife to cut the whole length of your vinyl. You’ll also want to cut the vinyl into the right length sections at this point.

- Now head to your wall and determine where you want the stripes to start. I was able to apply my first stripe right where the sloped ceiling met the flat wall. This is where two people would really be helpful–one person to hold the vinyl and one to position it since we’re dealing with large pieces. But instead, I used copious amounts of painter’s tape to hold up the strips while I positioned.
- Lightly place the vinyl stripe on the wall, then use a card or scraper to smooth out all the bubbles working your way along the length of vinyl.

- Measure down from the bottom of the stripe your desired distance, and mark along the length of the wall.

- Then repeat Steps 5 and 6 with your remaining stripes.
- Using your craft knife, clean up any edges (I had some angles to cut out) and cut around any outlets or switches.

And cleanup? Wad up that backing paper, and stuff it in the garbage. No paint to scrub; no brushes to clean out; no white hairs that you didn’t notice were being dragged through the fresh paint.

I absolutely love the results and the fact that I was able to do it so quickly.



I'd love to hear your thoughts–leave me a comment!