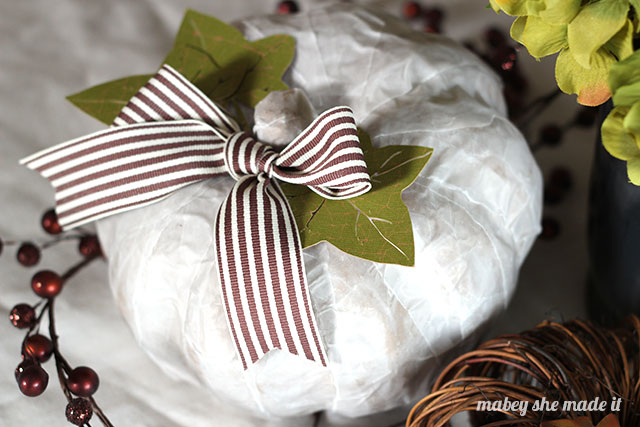
Last year I created this vellum pumpkin over at the Core’dinations blog, and this year I get to share it with you! I still love how neutral and fun this white vellum pumpkin is.

Raise your hand if you love pumpkins for fall decorating. (I’m raising both of mine!) I love how versatile they are and that you can use them from the beginning of fall all the way through Halloween and Thanksgiving. There are a lot of pumpkins at my house. Today we’re going to do a vellum pumpkin centerpiece with lots of class and that can easily be changed up for any occasion. Let’s get started!

Vellum Pumpkin Centerpiece Supplies:
- Tim Holtz Kraft-Core Shattered Collection
- Core Basics Vellum
- Darice 6″ Paper Mache Pumpkin
- Decoupage Glue
- Foam Brush
- Ribbon
- Electronic cutter or craft knife
Step 1: Tear strips of vellum. Paint one side of the strips with decoupage glue, and begin adhering them to the pumpkin. Vellum is a stiff paper by nature, so you may need to hold it on the pumpkin for a few seconds while the glue begins to bond. Don’t forget the stem!
Step 2: Continue around the pumpkin covering everything twice for a more even appearance, and let dry.
Step 3: Tie a ribbon around the stem.
Step 4: Cut three leaves using a craft knife or electronic cutter. Adhere them to the pumpkin using the decoupage glue.


Now just group your vellum pumpkin with a Natural Twig Pumpkin, some Berry Garland, and flowers, and you have a beautiful centerpiece to enjoy all season.


I'd love to hear your thoughts–leave me a comment!