A few months ago I got to be part of The Ribbon Retreat‘s Back-to-School A-Z Tour. I was assigned the letter Y, and it was so much fun to be part of a fun series with a lineup of amazing bloggers. And then I kind of forgot that I’d never shared it with you even though I referenced it in a post about Maya’s Blessing Dress so today seemed like the perfect day to do it! And can you believe how tiny my baby girl was back then?
+++++++++++++++++++++++++++++++++++++++++++++++++

Good morning! I’m Lisa from Mabey She Made It, a DIY, craft, and sewing blog. I’m so excited to be part of the A-Z tour–can you believe how many talented ladies have shared already? And since I’m sharing a Y project, tomorrow’s the last day of the tour. When I got the letter “Y” of course “yellow” came to mind. I tried to think of some other “Y” things, and came up with yard, yoke, and yo-yo. So with under a yard of fabric, you can create this super cute yellow-yoked dress with a yo-yo headband.

I started with a simple dress pattern, then after creating the yoke, I added the ribbon around the bodice before attaching the skirt so that the stitching was in between the outside and the bodice lining.

I also opted for button loops instead of buttonholes.

I love the way the daisy fabric has an ombre effect, so I put the bigger flowers toward the bottom for visual weight and paired it with the tiny daisy dot fabric on the top.

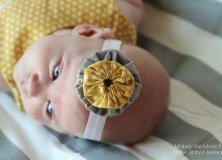
To finish off the dress, I added a sweet little yo-yo headband. Have you ever made a yo-yo- before? They’re pretty simple.
 Here’s how I did it.
The Ribbon Retreat offers a cool little yo-yo maker though, which would make it even easier. 🙂 I made two yo-yos (one slightly bigger than the other) then stacked them on top of each other and sewed them onto a simple headband of fold over elastic. Then I put it on this cute little head.

Thanks so much for letting me be part of this tour, and I hope you enjoyed the letter Y and my yellow-yoked dress!


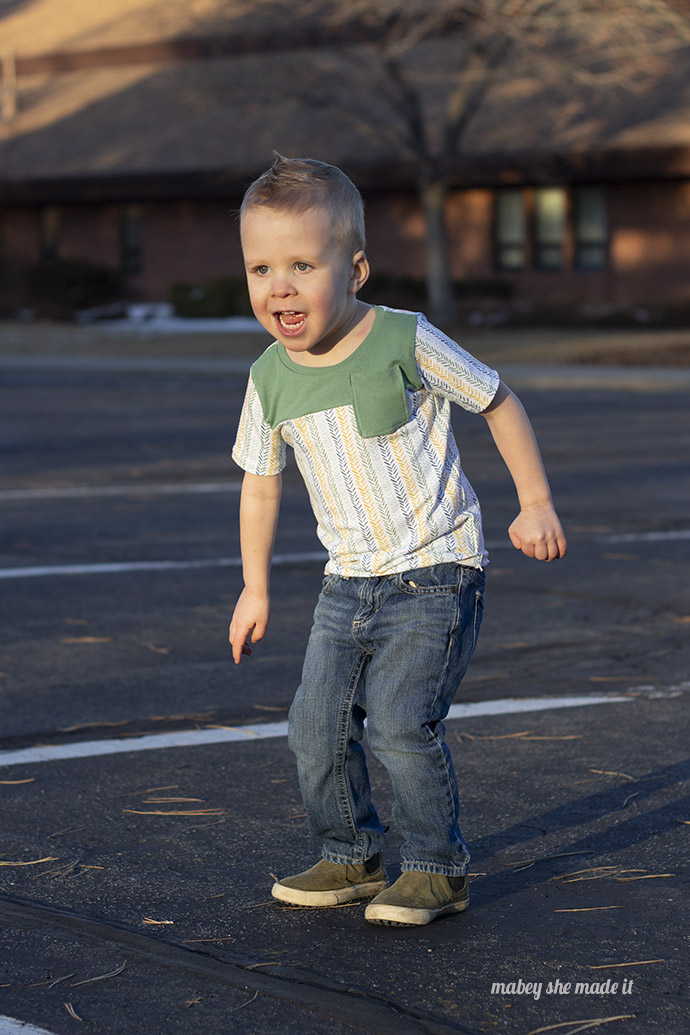
I'd love to hear your thoughts–leave me a comment!